5 Easy At-Home Hand Therapy Exercises for Stroke Recovery
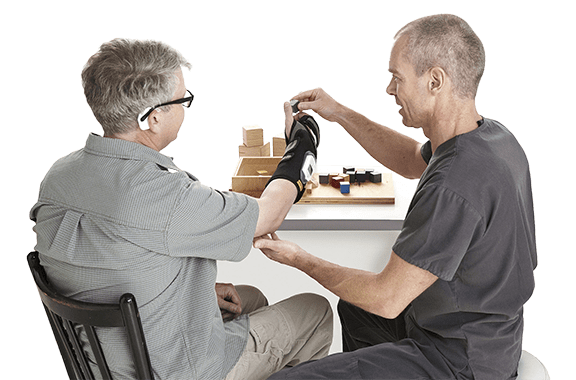
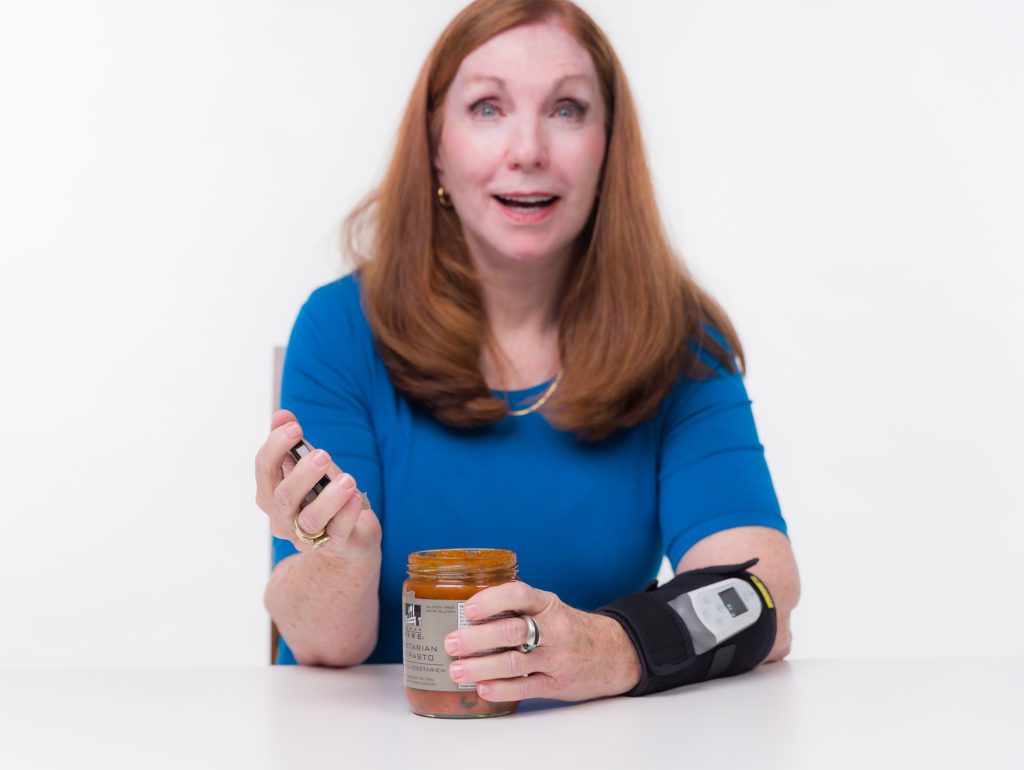
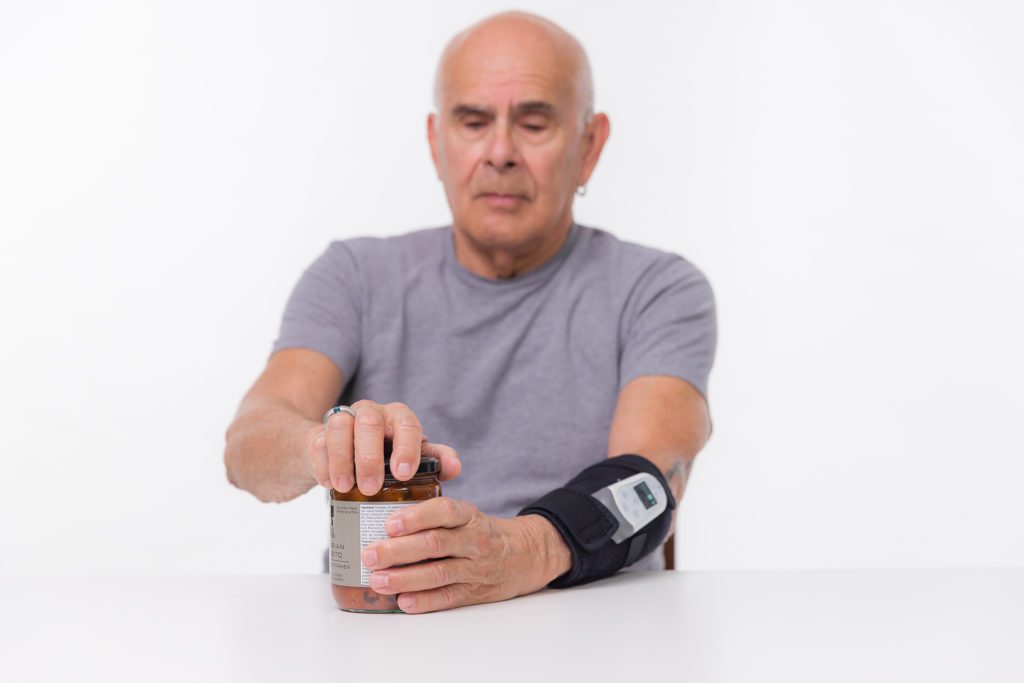
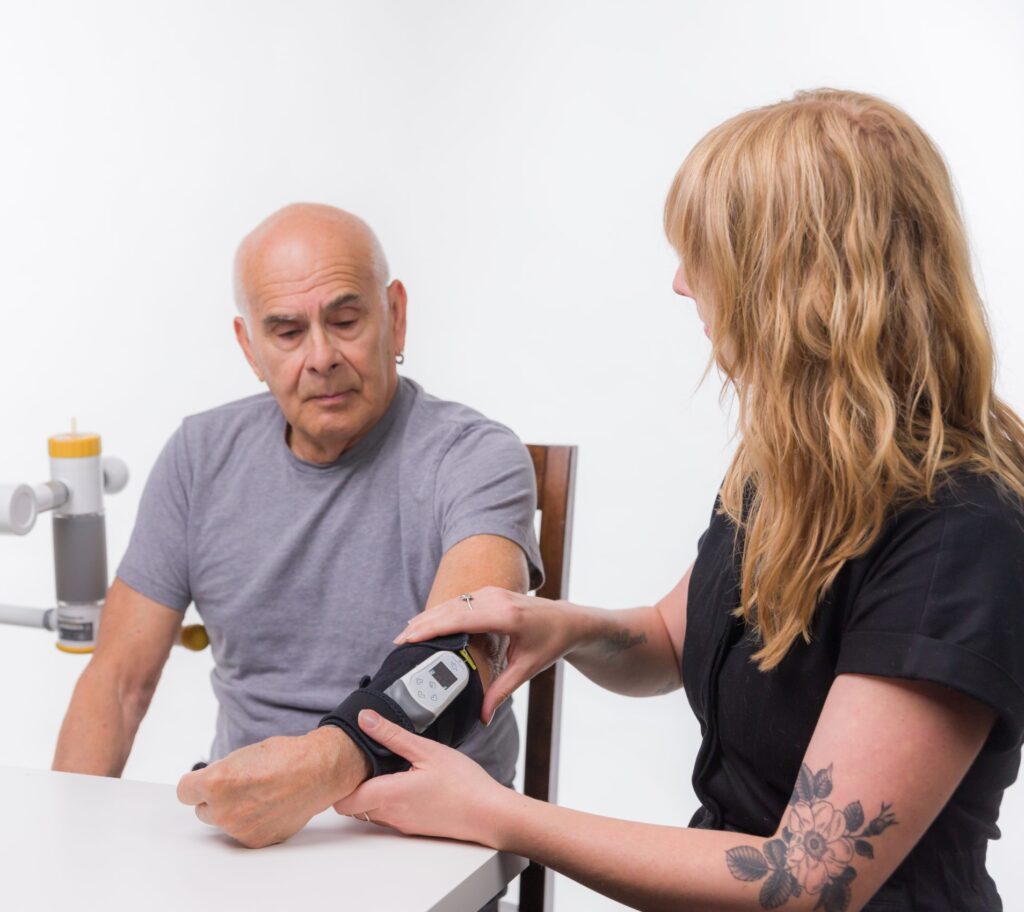
Individuals with stroke may have trouble with daily activities of living (ADL’s) if they cannot use one of their hands. However, there are several hand exercises for stroke patients that can help. Someone may perform these exercises as part of hand therapy or hand rehabilitation treatment after a stroke. This type of hand rehabilitation is offered by a hand occupational therapist or hand physical therapist, also known as a certified hand specialist. Other people may do these exercises on their own to make their hands work better.
Some of these exercises can increase flexibility in the fingers and thumb while others strengthen the hand. These tasks can be done anywhere with simple, low-cost materials often found within your home.
Paper crumpling and flattening
All you need is one piece of paper for this exercise. You can use loose leaf/notebook paper, printer paper, or even a newspaper. Someone wanting to crumple and flatten paper should follow these steps:
- Use one hand to pick up a single piece of paper.
- Scrunch up the paper into as small of a ball as possible, still using only one hand. Take your time and use each of your fingers. For example, if some of the paper is sticking out of your hand, try to use only the nearest finger to bring it into your palm. You do not need to smooth out the edges of the ball.
- Once your fingers are in a loose fist around the ball, put it down on the table.
- Put one hand on top of the ball and use your fingers to slowly flatten it out. The ball should remain on the table for this step. Spread your fingers apart at the same time while uncurling the paper and flattening it out as much as you can. You may need to use your thumb to hold down one part while using your other fingers to spread the paper out.
- Repeat this step until the paper is no longer in a ball or folded.
Movements: This exercise is focused on both hand motion and strength. The paper offers some resistance when it is being molded into a ball, which strengthens the hand muscles. Flattening the paper can only be done by straightening and spreading the fingers, and both help with motion. This exercise can be done up to 5 times each day.
Make it harder: Repeat the same steps with a piece of construction paper.
Washcloth wipe and squeeze
This exercise requires two washcloths (or another towel that measures 12”x12”) and a small bowl of warm water. To practice the washcloth wipe and squeeze, follow these instructions:
- Using one hand, dunk one washcloth in the bowl. Move it around so it soaks up some water.
- Still using just one hand, take the washcloth out of the bowl and lay it flat on the table.
- Use one hand to fold the washcloth one time.
- Place a flat hand on top of the washcloth and wipe the table in a “waving” motion. Keep your shoulder and elbow still while moving only your wrist from side to side as you wipe. Do this 10 times. You can hold your forearm with your opposite hand to keep your elbow and shoulder in one place.
- Place your hand flat on the washcloth again.
- Slowly move your pointer finger and thumb toward each other while pinching the washcloth in between. Hold for 5 seconds.
- Use all fingers on one hand to flatten the washcloth. Return your hand to a flat position on top of the washcloth.
- Repeat steps #5 and #6 with the middle finger and thumb, then the index finger and thumb, and the little finger and thumb.
- Move the damp washcloth to the side and place the bowl of water in front of you.
- Pick up the dry washcloth with one hand and dunk it in the bowl of water.
- Using only one hand, pull the entire damp washcloth into your palm.
- Use this same hand to squeeze the washcloth over the bowl and wring out the water. Hold for 5 seconds before relaxing your fingers.
Movements: This exercise is focused on motion and strength. In particular, the squeezing strengthens all fingers at once. This is called grip strength. Pinching the washcloth strengthens two fingers working together and helps with the individual movement of each finger. The wipes focus on wrist motion, which helps with hand use. This series of exercises can be done up to 5 times each day.
Make it harder: Use a thicker or larger towel, such as a hand towel or a bath towel.
Page flipping
To perform this exercise, you will need a book with at least 10 pages.
- Open the cover of the book.
- At the bottom right corner of the first page, steady the paper with your pointer finger. At the same time, use your thumb to lift the page up and grasp it between both fingers. If needed, move your thumb from side to side to separate the first page from the others. Take your time with this. Focus on placing your fingers in the proper positions before moving the page.
- Flip the page over and repeat the same step with the next page.
- Continue until you have flipped 10 pages.
Movements: This exercise focuses on precisely and accurately moving two of the most important fingers. This exercise can be done 5 to 10 times each day.
Make it harder: Use several stacked pieces of loose-leaf notebook paper that are not bound together by a paper clip or staple. Time yourself and try to flip through all 10 pages in under a minute.
Scissor spread
For this exercise, you will need a container of play-doh.
- Use your thumb and pointer finger to get a small piece of play-doh from the container.
- Roll the play-doh into a 2” ball. You can do this one of two ways:
- Place the chunk of play-doh on the table and put one hand on top of it. Roll your hand in a circular motion over the play-doh while gently applying pressure. Do this until it forms a smooth ball.
- You can also place the play-doh between both hands and use your weaker hand to roll it. You should use a circular motion and gentle pressure against the other hand until the play-doh becomes a ball. It is best to place the weaker hand on top of the other hand with palms facing one another instead of holding them side by side (like praying hands).
- Place the ball of play-doh on the table. Position your hand so the ball is in between your pointer finger and middle finger. These two fingers should form a “V” shape.
- While keeping them straight and flat on the table, squeeze all your fingers together so you squish the ball in between the pointer finger and middle finger. Do this 5 times.
- Repeat steps #3 and #4 with your middle finger and index finger, then with the index finger and little finger. Between each set, use your opposite hand to reposition the play-doh ball so it is flattened evenly.
Movements: This exercise is intended to make fingers stronger as they move apart and together. These exercises can be done 1 to 2 times each day.
Make it harder: Complete the above steps with your elbow propped up on the table and your hand in the air. Use modeling clay or therapy putty instead of play-doh. [Ask your therapist which color therapy putty to start with.]
Thumb pinch
This exercise focuses on the same motion that scissor spreads do, but with an emphasis on the muscles in the thumb. For this exercise, you will need play-doh.
- Use your thumb and pointer finger to get a small piece of play-doh from the container.
- Roll the play-doh into a 2” ball. You can do this one of two ways:
-
- Place the chunk of play-doh on the table and put one hand on top of it. Roll your hand in a circular motion over the play-doh while gently applying pressure. Do this until it forms a smooth ball.
- You can also place the play-doh between both hands and use your weaker hand to roll it. You should use a circular motion and gentle pressure against the other hand until the play-doh becomes a ball. It is best to place the weaker hand on top of the other hand with palms facing one another instead of holding them side by side (like praying hands).
- Place the ball of play-doh on the table. Position your hand so the ball is in between your thumb and pointer finger. These two fingers should form a “V” shape.
- While keeping them straight and flat on the table, squeeze both fingers together so you squish the ball in between the thumb and pointer finger. Do this 10 times.
- Adjust the play-doh ball as needed so it is flattened evenly.
Movements: The thumb plays a big part in the function of the hand, and this exercise makes the thumb stronger. This will allow you to hold and move items with more stability. These exercises should be done 1 to 2 times each day.
Make it harder: Complete the above steps with your elbow propped up on the table and your hand in the air. Use modeling clay or therapy putty instead of play-doh. [Ask your therapist which color therapy putty to start with.]
Conclusion
When practiced regularly, these exercises can improve strength and motion in the hand. You may experience slight muscle soreness and some fatigue after. This is normal. If you are in pain during or after doing these exercises, you should stop and contact your doctor, physical therapist, or occupational therapist. You should also contact a medical professional if you notice swelling in the hand or forearm after you are done.
While these exercises can all help with hand recovery after stroke, they should not be used instead of medical care. Contact your doctor to learn more about hand therapy rehabilitation and hand therapy programs near you.